


 PM Series


 Australia
 中国大陆
中国大陆 日本
日本


 Türkiye


 Italia
 Netherlands
 Belgium
 Greece
 Polska
 Norway
 Sweden
 Finland
 Denmark
 Hungary
 Czechia
 Slovenia
 Croatia
 Switzerland
 United
Kingdom
United
Kingdom
 Canada


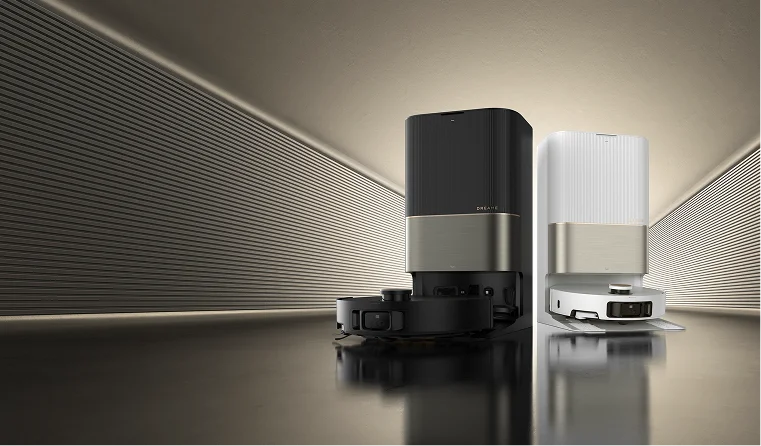
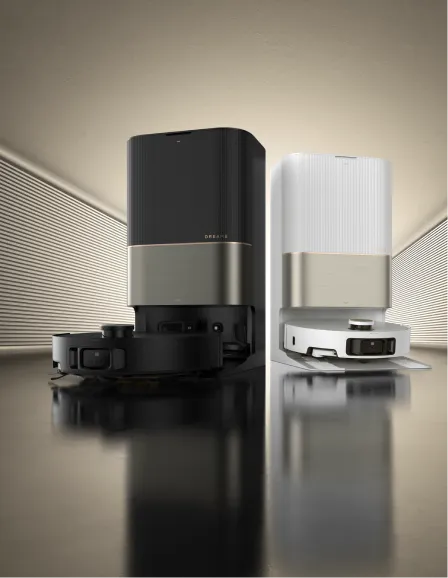
Why Smart Robot Vacuums Still Get Stuck (And How Hardware is Fixing It)
Editorial TeamDreame
|
The Software-Hardware Gap
Today's robot vacuums are incredibly smart. Using advanced lasers and AI, they can map a home with precision. Yet, many users still face common frustrations: stuck on thick rugs, blocked by door thresholds, missing dirt along edges.
The reason? While robot software has gotten smarter, physical design has remained rigid. The next revolution isn't just about better code—it's about machines that physically adapt.
Breaking Through Physical Barriers
42mm
Obstacle Clearance (1.65 in)
100%
Corner Coverage
20,000Pa
Suction Power
1. Navigation: When Maps Meet Reality
2D Mapping
LiDAR creates precise floor plans, a major upgrade from basic models that use simpler gyroscopes and can miss spots.
Height Challenges
Door sills, thick rugs, and furniture clearances block traditional robots whose rigid bodies can't match their smart maps.
ProLeap™ Adaptation
The ProLeap™ System uses retractable legs to physically lift the robot's body over obstacles up to 42mm high.
VersaLift™ Navigation
Lowers its LiDAR sensor to navigate under furniture with clearances as low as 89mm (3.50 in).
ProLeap™ System Achievement
Certified by Frost & Sullivan as a world's first, this retractable leg system is tested for 30,000+ cycles of reliable obstacle clearing.
2. Cleaning: Reaching Every Corner
1
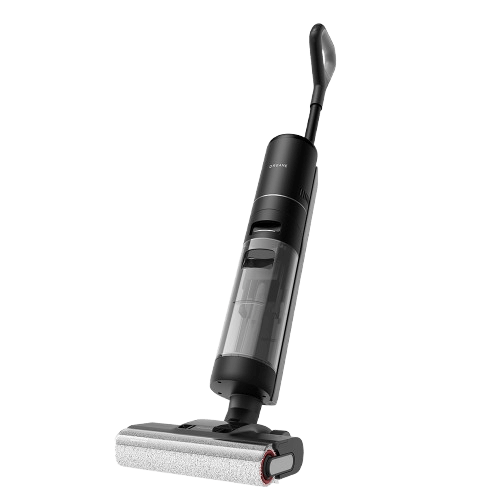
HyperStream™ DuoBrush
Combines a rubber brush for large debris with a bristled brush for floor crevices. It achieves 100% anti-entanglement for hair up to 30cm long, powered by a motor inspired by swift's wings.
2
Dual Flex Arm Technology
A side brush extends 10.5mm (0.14 in) to sweep dust from deep corners, achieving complete corner cleaning coverage previously impossible.
3
MopExtend™ RoboSwing
The mop pad swings out to scrub against baseboards, reaching up to 4cm (1.57 in) into nooks for comprehensive wet cleaning.
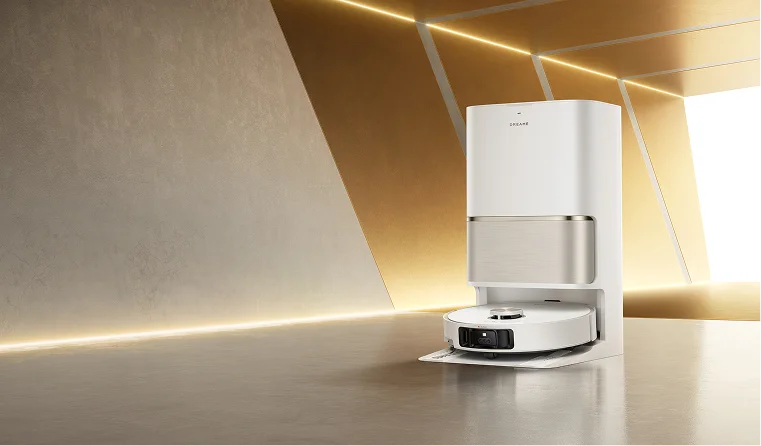
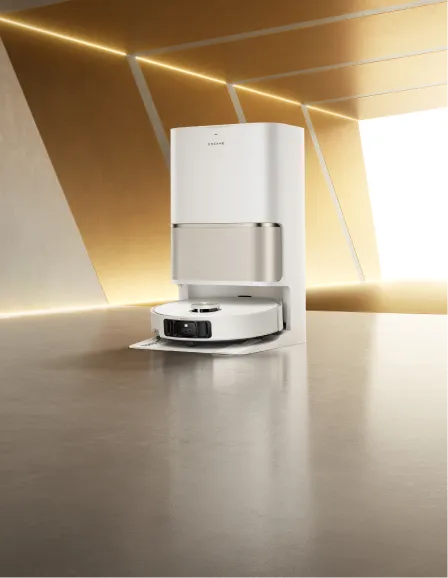
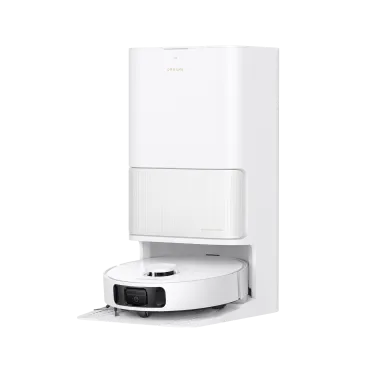
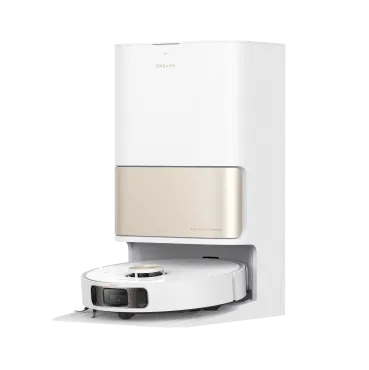
3. Self-Maintenance: Closing the Loop
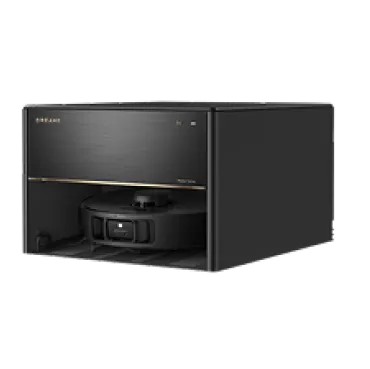
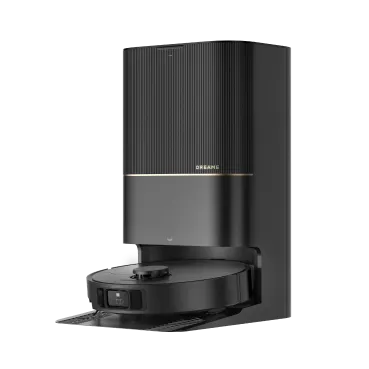
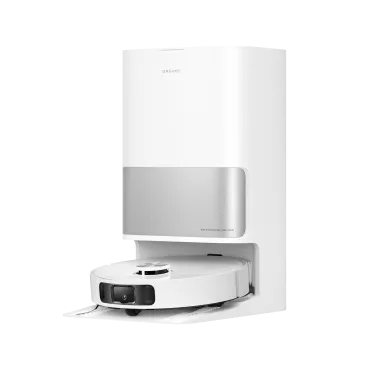
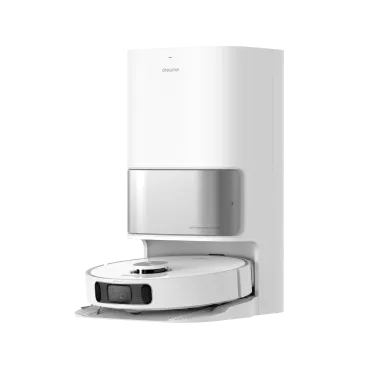
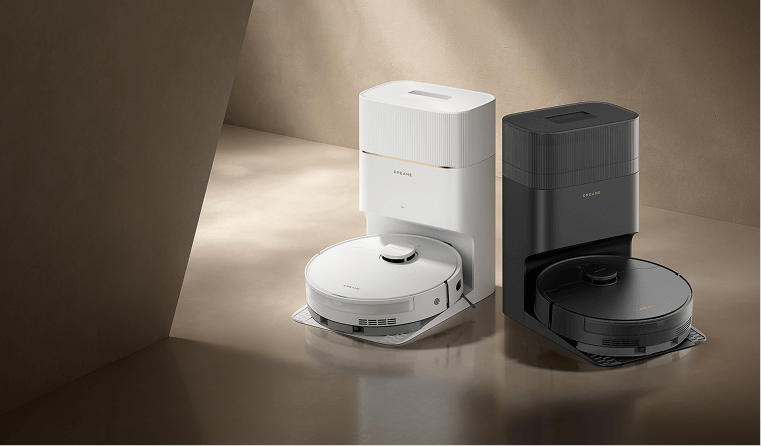
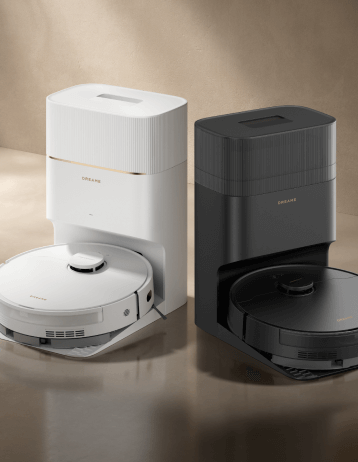
True autonomy means solving the chore of maintaining the dock itself, preventing issues like slimy tanks. The Dreame All-in-One PowerDock™ closes this final loop.
80°C (176°F)
Hot water washing dissolves stubborn stains automatically from the mop pads.
AceClean DryBoard™
Keeps the dock's own washboard clean and dry, preventing grime buildup.
Monthly
User interaction is reduced from daily intervention to just a few times per month.
The Future is Physical
Robot vacuums have mastered digital tasks like mapping. The most meaningful improvements now come from innovations in physical design.
Features that allow a robot to lift its body, extend an arm to clean a corner, and automatically service itself solve the most frustrating real-world problems. These practical engineering advancements elevate the latest devices from smart gadgets to truly reliable partners for maintaining a clean home.
Engineering Excellence


